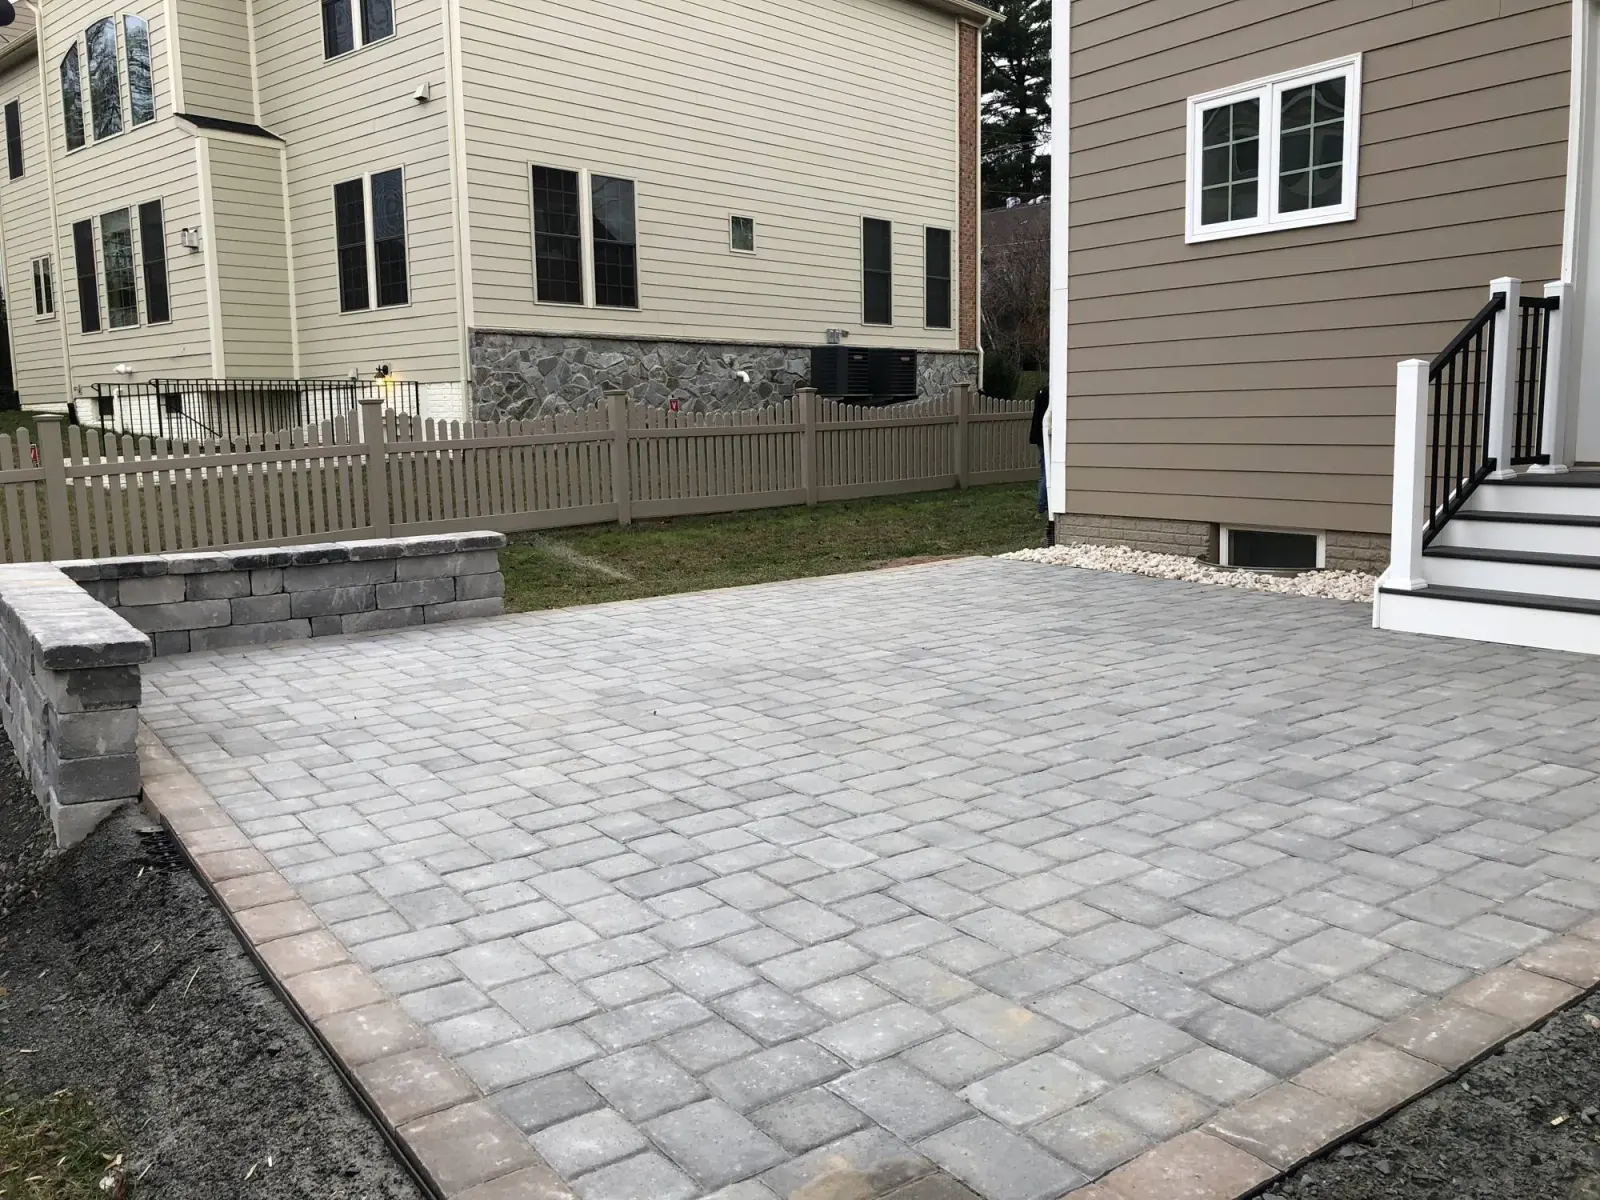
People ask us all the time whether they could just build the patio themselves. I always give the same honest answer: yes, you probably could. None of this is a secret. The steps below are the same ones our crews run every week, and I am laying all of them out on purpose. What you are really paying a builder for is not hidden knowledge. It is the labor, the tools, and the judgment to not cut the corners that do not show until three winters later. If reading this makes you want to hire it out, good. If it makes you want to build it yourself, also good, at least now you will do it right.
Here is how a paver patio actually gets built, start to finish.
Before you dig
Three things happen before a shovel goes in the ground.
Call Miss Utility. In Virginia this is the law, not a suggestion. Dial 811 a few business days before you dig and utilities will come mark the gas, electric, and communication lines running through your yard for free. People skip this on small jobs and it is how you hit a gas line with a shovel. Do not be that person.
Check whether you need a permit. A patio sitting flat on the ground often does not need one, but raised patios, retaining walls past a certain height, and anything near an easement can. The rules are different in every county, so confirm with your county’s permit office before you start.
Decide where the water goes. Before you love a shape, figure out which way the ground falls and where roof water lands. Water is what destroys patios here, so the whole design has to move it away from the house and away from the patio. If a downspout dumps right where you want the patio, plan to deal with it now, while it is a shovel problem and not an excavator problem.
Step 1: Lay out the patio
Mark the shape with paint, stakes, and string. Then make it bigger than you think you want. The single most common regret we hear is that a finished patio feels smaller than it looked as a rectangle of grass. A table with chairs pulled out needs more room than people expect. Pull a chair out from an imaginary table and stand where you would walk behind it. That is your real edge.
Set a string line at the height you want the finished patio to sit, keeping it at least an inch or two below any door threshold and below the siding. Off that string you will measure everything down: the pavers, the bedding sand, and the base. Working from a fixed reference up top is what keeps the whole job flat.
Step 2: Excavate
Now the hard part. Dig out the whole footprint down through the topsoil to firm subsoil, plus enough depth for the full assembly underneath the pavers. For a patio in our clay that generally means removing something on the order of a foot of material once you add up the base, the bedding, and the paver thickness. A driveway needs a good deal more. There is no universal number because it depends on your soil and what the surface has to carry.
This is where the tonnage hits you. The soil you dig out is heavy, and every bit of it has to go somewhere. Then you get to bring in stone to replace it. On a modest patio that can be several tons out and several tons back in, most of it by wheelbarrow if a machine cannot reach the backyard. This step alone is why a lot of driveway-DIY dreams quietly become phone calls to us.
Once you are down to subsoil, compact the exposed ground itself with a plate compactor before anything else goes in.
Step 3: Separate the base from the clay
Over Northern Virginia clay, roll out a woven geotextile separation fabric across the excavated subgrade. This is the cheapest, fastest step in the whole build and the one most often skipped because nobody ever sees it. Without it, years of wet and dry cycles pump clay up into your clean stone, and contaminated stone stops draining and stops holding compaction. I go deeper on why this matters in our post on why base prep decides whether a patio survives.
Step 4: Build the base in lifts
The structural base is dense-graded crushed stone, what suppliers around here call 21A or crusher run. The word that matters is lifts. Add the stone two to three inches at a time and run the plate compactor over each layer before adding the next.
Dump the whole depth in one pile and compact only the top and you have compacted the top two inches and left everything below it loose. That loose stone consolidates on its own over the next few years, and the patio rides it down. More failed patios trace to this one shortcut than to anything else. Take your time here. This layer is the patio.
As you build the base, carry your pitch up through it: about a quarter inch of drop per foot, running away from the house. Check it with a level and a tape off your string line as you go. The finished surface will only be as true as the base under it.
Step 5: Screed the bedding sand
On top of the compacted base goes about one inch of coarse concrete sand, struck off perfectly flat. The trick pros use is screed rails: lay two lengths of pipe on the base at your finished sand height, fill between them with sand, then drag a straight board across the pipes to level it. Pull the pipes and fill the gaps.
One warning. The bedding sand is for setting pavers, not for fixing a lumpy base. If you find yourself troweling three inches of sand to smooth things out, stop and go fix the base. That deep sand will rut and shift under foot traffic and the patio will go wavy no matter how nice the pavers are.
Step 6: Lay the pavers
Now the satisfying part. Start from a straight edge or a corner and work outward, setting each paver straight down onto the sand without dragging it, so you do not plow the bedding out of level. Keep small consistent joints between units. Snap chalk lines or run string as you go to keep your pattern honest, because small drifts add up fast across a big field.
Kneel on a board laid across pavers you have already set, never on the screeded sand. Every knee print in that sand is a low spot you will fight later.
Step 7: Cut the border
Once the field is laid, you mark and cut the edge pieces to your patio shape. This is what a masonry saw or a splitter is for. Measure and mark each cut against the actual gap rather than guessing, because curves and corners are never quite as symmetrical as they look. Clean, tight cuts around the perimeter are the difference between a patio that looks built and one that looks assembled.
Step 8: Set the edge restraint
Interlocking pavers hold together as a system: each unit braces its neighbors, and the whole field braces against the edge. Take the edge away and the field slowly spreads, joints open, sand washes out, and the interlock is gone.
The restraint has to sit on the compacted base, not on soil, which is why the base gets built six inches or so past the finished edge of the pavers in the first place. Spike a restraint into loose backfill and it will creep outward within a couple of seasons. The first sign is always the border course leaning away from the patio.
Step 9: Compact, then sand the joints
Run the plate compactor across the whole patio, ideally with a rubber pad on the plate so you do not scuff the stone. This beds the pavers into the sand and locks the field together.
Then sweep polymeric jointing sand into all the joints, compact again so it settles down in, sweep the surface completely clean, and mist it with water to activate it. That last part matters: polymeric sand hardens in the joints to lock everything and keep weeds and ants out, but any of it left on the paver faces when you wet it can haze the surface. Sweep like you mean it before the water comes out.
Let it cure, and the patio is done.
The part that makes people call us
Read back through that list. There is no magic in it. What there is, is weight and time and a handful of steps that are boring, invisible, and unforgiving if you rush them. Moving tons of material by hand, renting and hauling a plate compactor, cutting stone accurately, and holding a quarter-inch-per-foot plane across a whole backyard is a genuinely hard few days of work even for people who do it constantly.
That is the real trade. The how is free, and I am glad to give it away. The doing is the job. If you would rather spend your weekends on the finished patio than building it, that is exactly the work we have been doing across Fairfax, Loudoun, Arlington, and Prince William since 1991, on a base built to outlast the furniture you put on top of it. Call (571) 620-6218 or request a free estimate.
If you are still choosing a surface first, our comparison of pavers versus poured concrete patios covers how each one holds up to our freeze-thaw winters. And when you would rather have it built right the first time, that is exactly what our paver patio installation work across Northern Virginia is for.


